
Metal textures in games
This tutorial will show, step by step, how to create a Diffuse, Spec and normal map for a simple game asset, and cover some of the theory behind the decisions we make in this process.
First some theory, before we get stuck into texturing we have to understand some key things about metal textures that differentiate the material from things like stone and wood. Metal has a lustrous quality to it, it bounces and reflects light, not merely absorbing it. This gives it its shine, this is also the main way of differentiating metal from other materials.
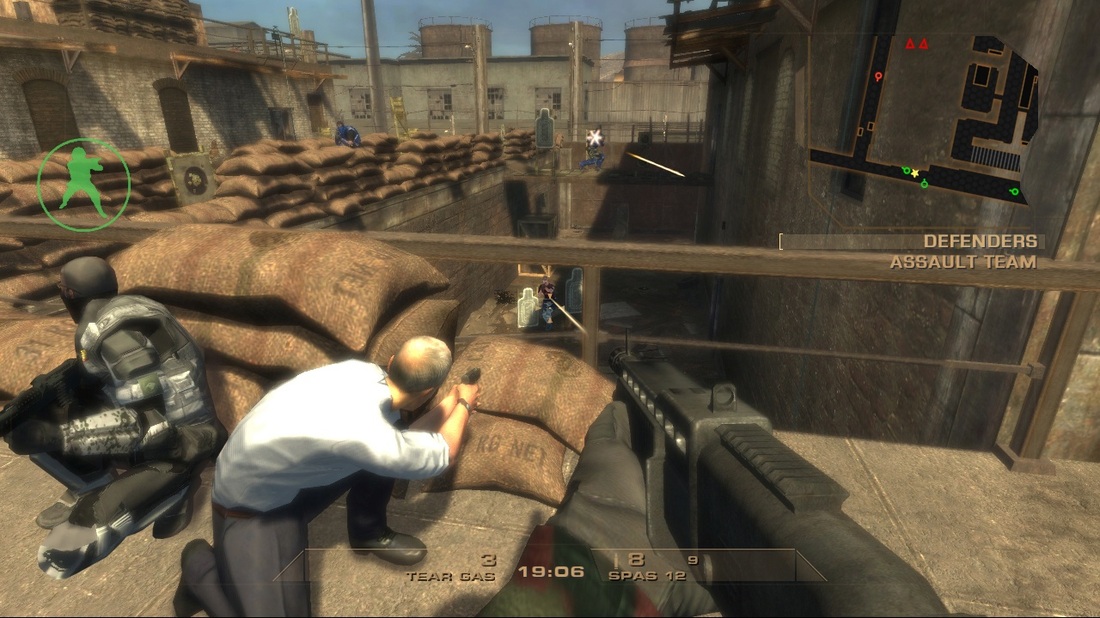
This is a screenshot from Rainbow Six Vegas, and one thing you will notice about the players weapon is it looks flat and almost stone like, this is for several reasons: mainly the lack of a proper specular map, this is why the gun is not reflecting and bouncing light, which makes it look dull and flat. Secondly is the base diffuse texture on the weapon, it has a lot of blurry repeating noise that has no variation or definition, I'll further explain this in a little bit.
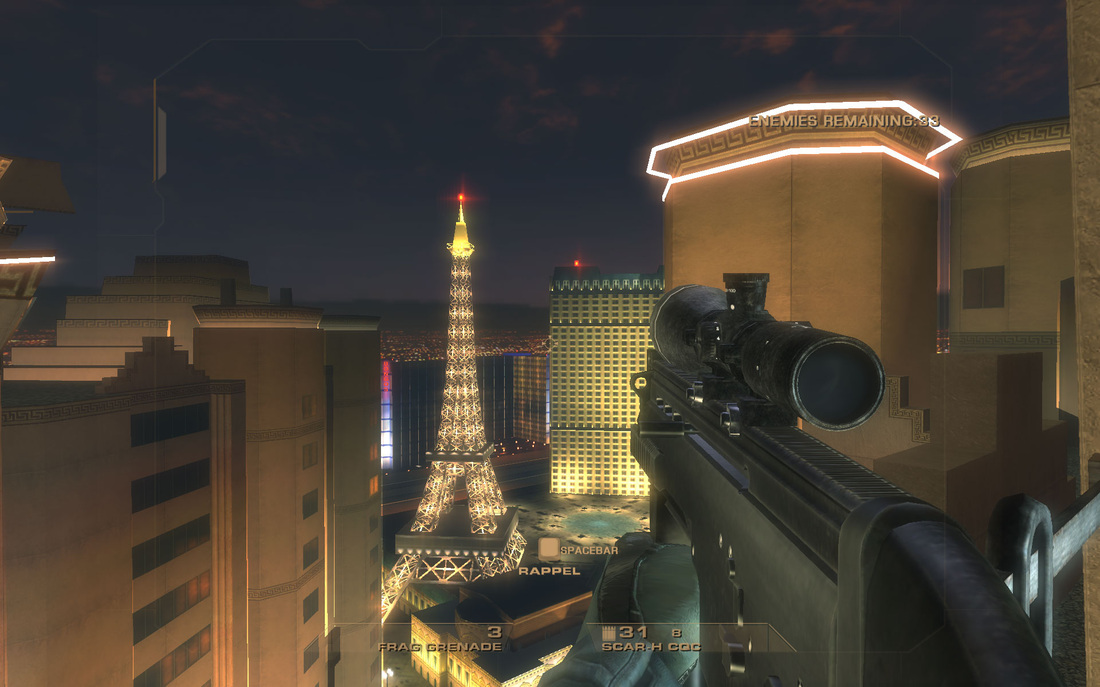
Same game but now this weapon has a somewhat decent specular map, you can see the light bouncing off the gun. But simply making the weapon shiny is not enough, now it looks like it has a light coat of oil on it, rather than the actual metal reflecting. It also has the same problem as the previous picture, its base diffuse texture is full of blurry repeating noise that makes it look like flat stone.
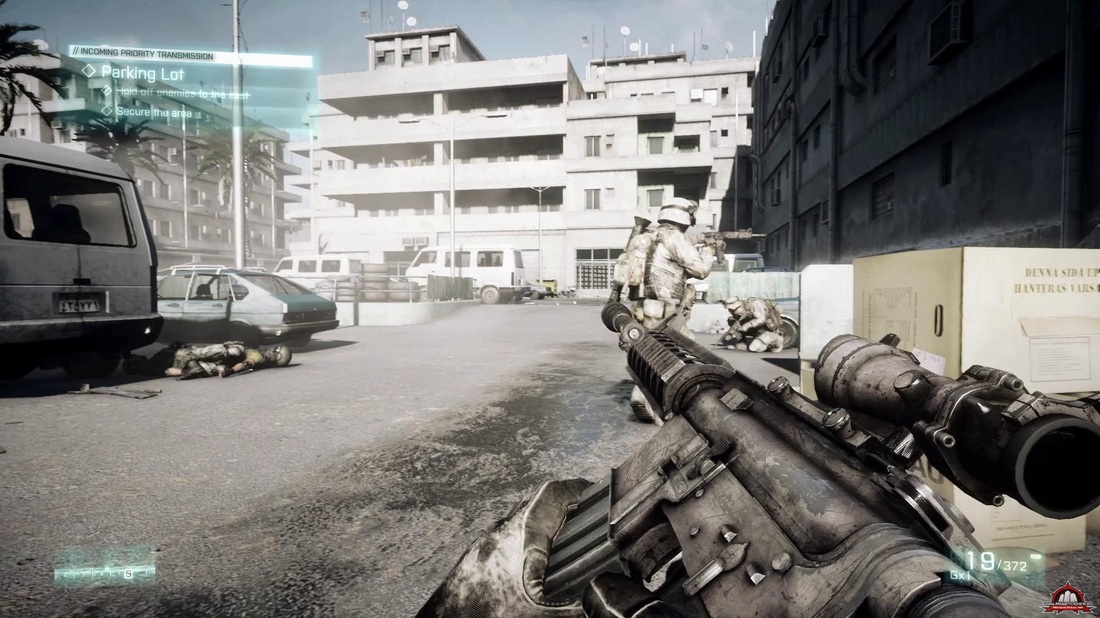
This screenshot is from Battlefield 3, and is a massive improvement on the previous 2 pictures in regards to the quality of its metal, its specular map is bouncing light properly, but not like its been coated in oil. The paint on the gun has diluted the reflectivity but not completely, you can still see the light shining off it in worn and scratched areas. Another difference that makes this look like actual metal as opposed to the previous 2 pictures is its base diffuse map, it is not full of blurry dull noise, but defined, sharp and varied scratches, scrapes and chipped paint.
This leads to a key point in making metal textures: metal is a hard man-made material, it does not weather away and wear down like stone or wood, any "damaged" or "weathered" details on it are from manmade influences, how it has been handled, the environment it has been used in, what has impacted it etc, we need to keep in mind these details when we are texturing.
These points add to a major point I'd like to make, every detail has a story. There is always a reason behind why that detail is there, why that scratch is on that contact edge, why that paint has been scraped off, thinking about these backstories for details will help you understand how the detail would work in real life and weather it should be on your texture.
Right, Photoshop time! I will be using photoshop for my diffuse texture and preparation for my spec and normal maps in CrazyBump, an awesome little program to help speed up your normal/spec/occlusion/displacement map generation (you can download a free trial from its website: http://www.crazybump.com/)
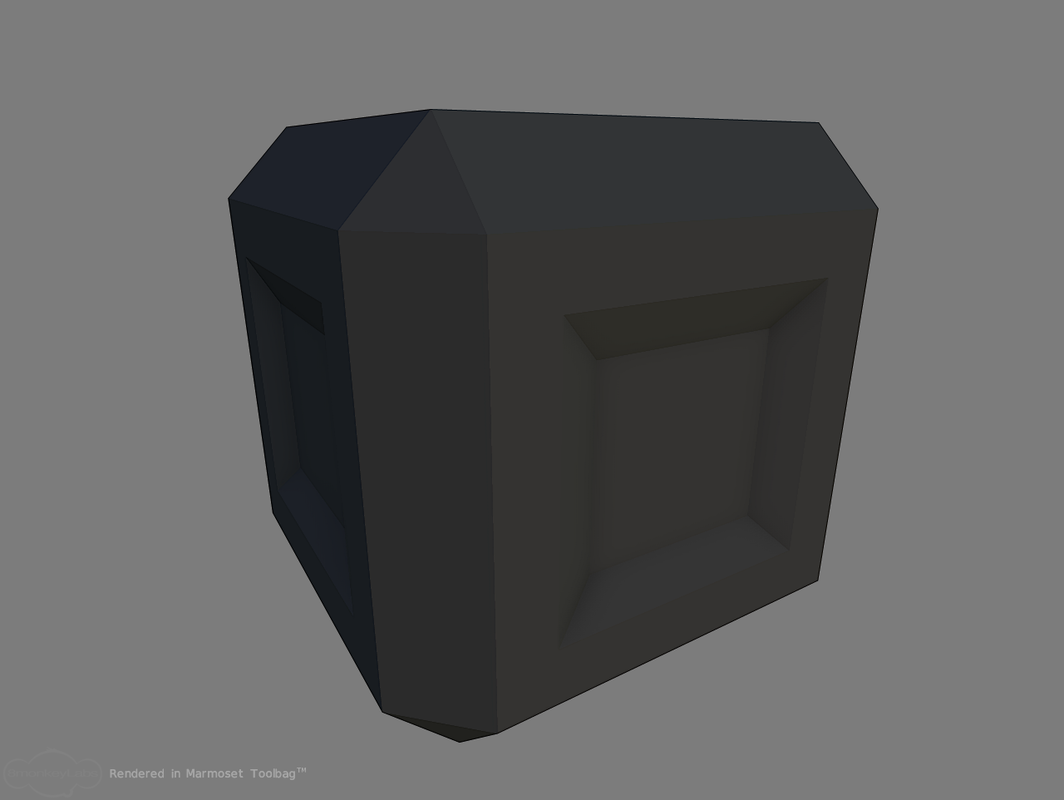
Note: since this is being made for games all preview images of progress will be taken in Marmoset Toolbag (trial is available at: http://www.8monkeylabs.com/toolbag, you should go download it, totally awesome tool).
This leads to a key point in making metal textures: metal is a hard man-made material, it does not weather away and wear down like stone or wood, any "damaged" or "weathered" details on it are from manmade influences, how it has been handled, the environment it has been used in, what has impacted it etc, we need to keep in mind these details when we are texturing.
These points add to a major point I'd like to make, every detail has a story. There is always a reason behind why that detail is there, why that scratch is on that contact edge, why that paint has been scraped off, thinking about these backstories for details will help you understand how the detail would work in real life and weather it should be on your texture.
Right, Photoshop time! I will be using photoshop for my diffuse texture and preparation for my spec and normal maps in CrazyBump, an awesome little program to help speed up your normal/spec/occlusion/displacement map generation (you can download a free trial from its website: http://www.crazybump.com/)
Note: since this is being made for games all preview images of progress will be taken in Marmoset Toolbag (trial is available at: http://www.8monkeylabs.com/toolbag, you should go download it, totally awesome tool).
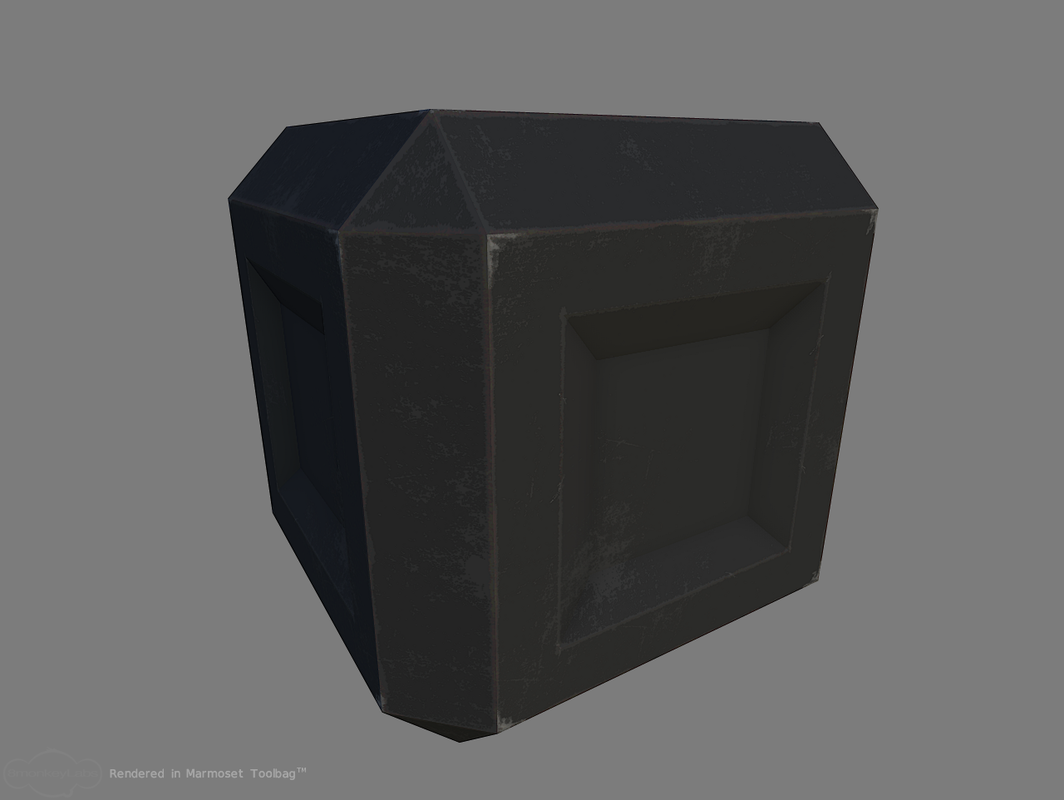
Step 1: the base, this is the background for all our details and essentially our diffuse maps foundations. I started with a flat grey with rgb values 48,48,48. This gave me a good starting point that I could work up to lighter shades if I need to.
Step 2: base grunge, I painted the entire texture with a grunge brush and then masked most of it out, only leaving varied spots here and there, I also brought the fill down alot to make it really subtle.

Step 3: base scratches, same technique as the base grunge, but with a scratch brush, making sure to keep the result varied.

Step 4: now we start adding details, I used a small square scattered brush to hand paint along the main edges where the object would make contact with other things the most.

Step 5: main contact scratches, I wanted the larger side faces to be seperate plates bolted onto the frame of the crate so I painted on scratches on the corners of where the seperate plates edges would be, to do this is used the same technique as Step 4.
Step 6: main detail feature, I wanted to break up the texture a bit and add something to take your mind off the fact its only a crate, so I used a checkerplate brush to paint on the inner most face, I then copied it and inverted it, offsetting it a small amount to give it the illusion of depth and shadows. I also hand painted ambient occlusion on the edge where it would be welded to the seperate plate and painted a light shadow to make it seem recessed.
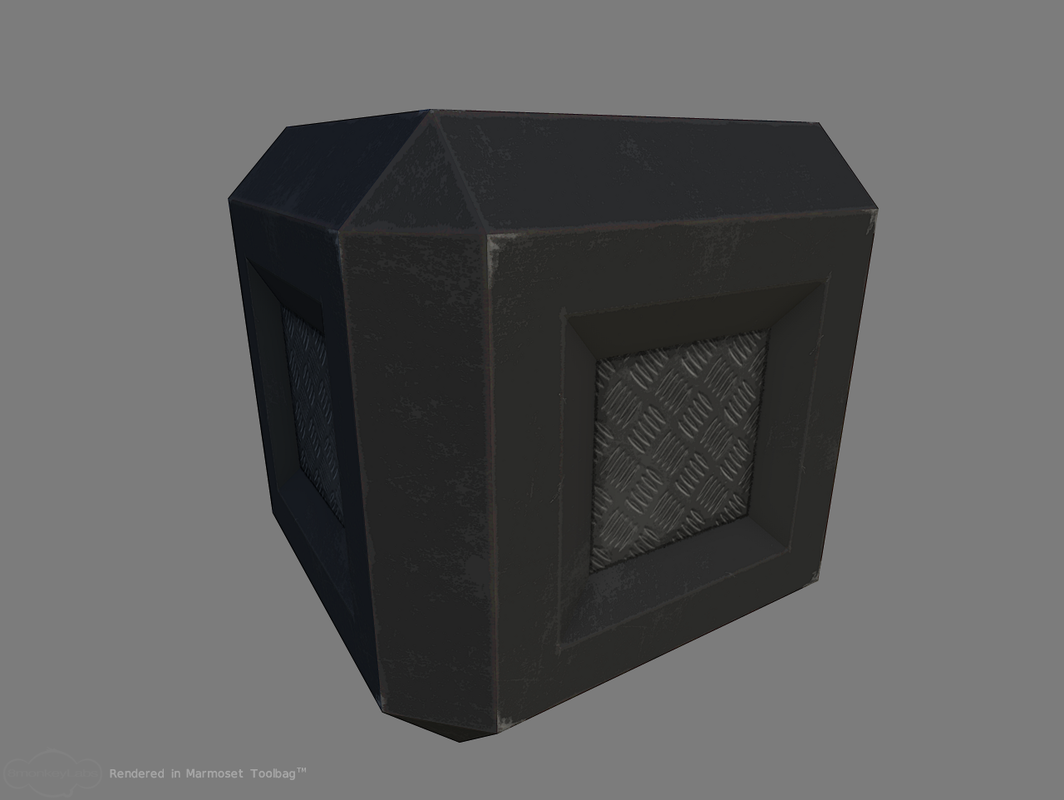
Step 7: to make the seperate plate seem like a different piece of metal I cut it into a seperate layer and used a Hue/Saturation adjustment layer to alter its colour and tone until I was happy with it. I also used a Bevel & Emboss layer effect to make it seem like it had a raised surface, furthering the illusion that it was a seperate piece of metal.
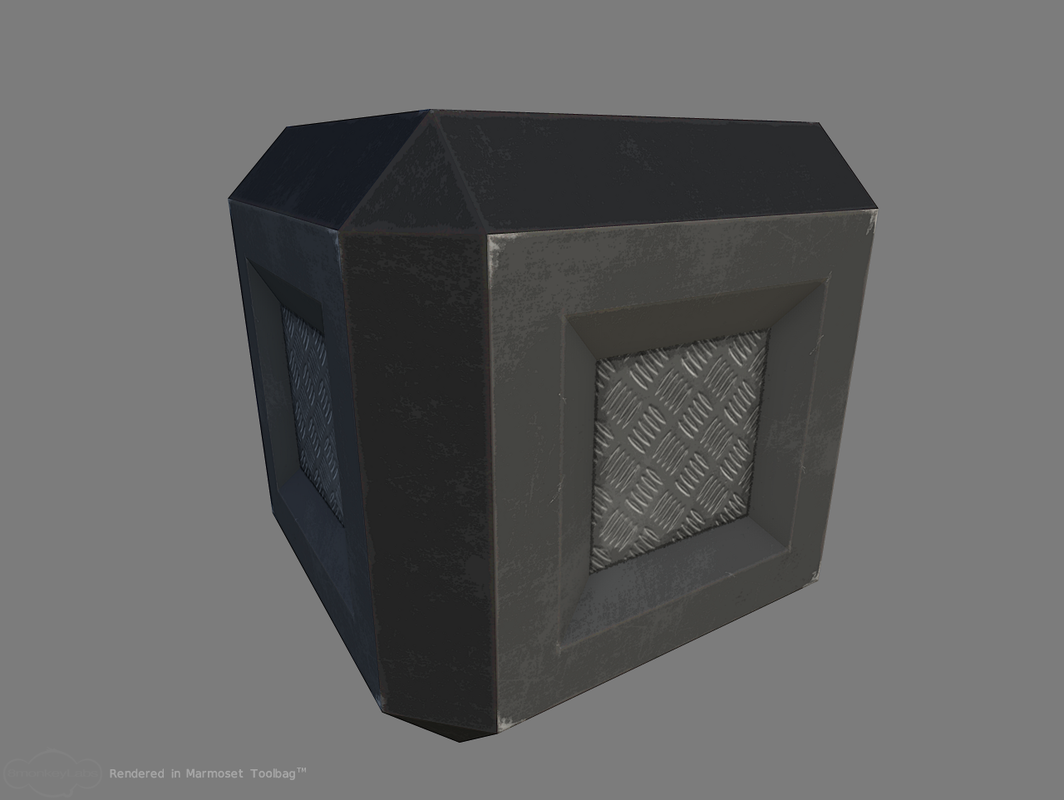
Step 8: I then cut up the individual faces of the frame and used the Bevel & Emboss layer effect to add depth and highlights to the individual faces.

Step 9: after all this it still did not look like the main side faces were seperate plates so I used a round brush to paint on some rivets to make it look like the seperate plate was bolted onto the frame.

Step 10: I then painted on a second layer of rivets directly on top of the first, scaled them down and overlayed them to give the rivets a highlight and some depth.
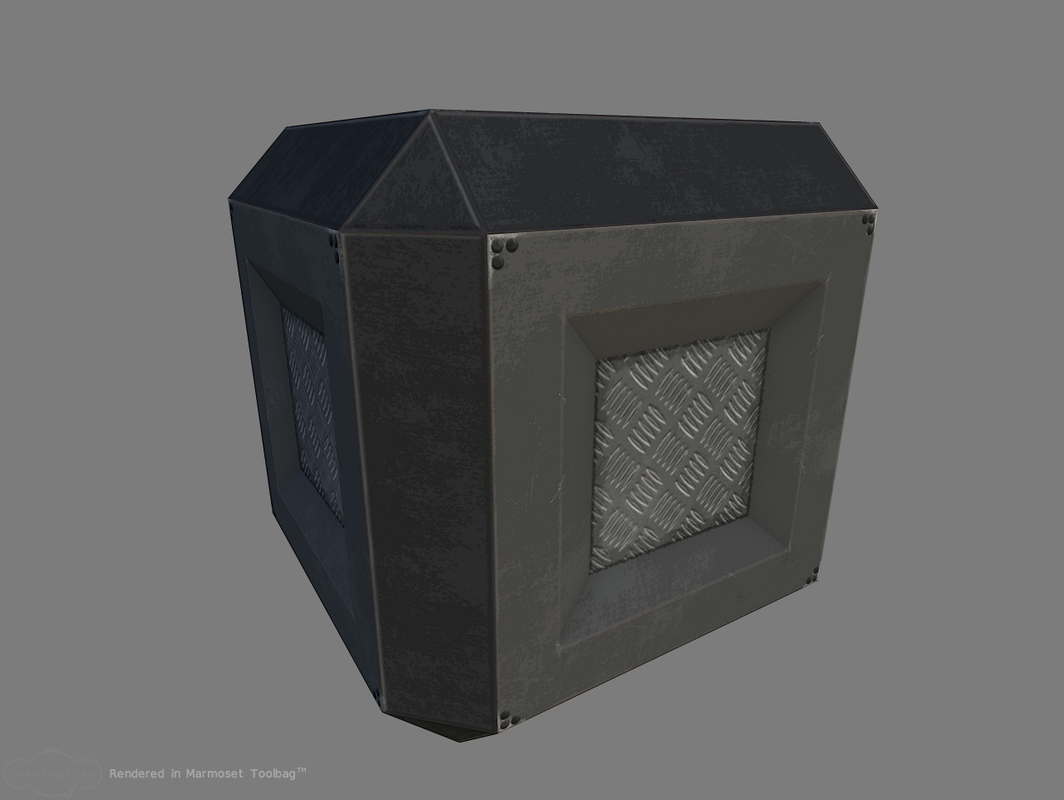
Step 11: having finished adding all the details I added Hue/Saturation and Brightness/Contrast adjustment layers to almost every layer and tweaked them until I was happy that all the layers worked toegther and toned down the base grunge and scratches to make them more subtle.
CrazyBump is great, but it needs some preparation first:
- for my spec map I made the diffuse map a greyscale image and made sure that all the details I wanted highlighted were tones of white, and all the details I wanted faded and dull I darkened, this is because in a specular map, white shines brighter, black shines duller.
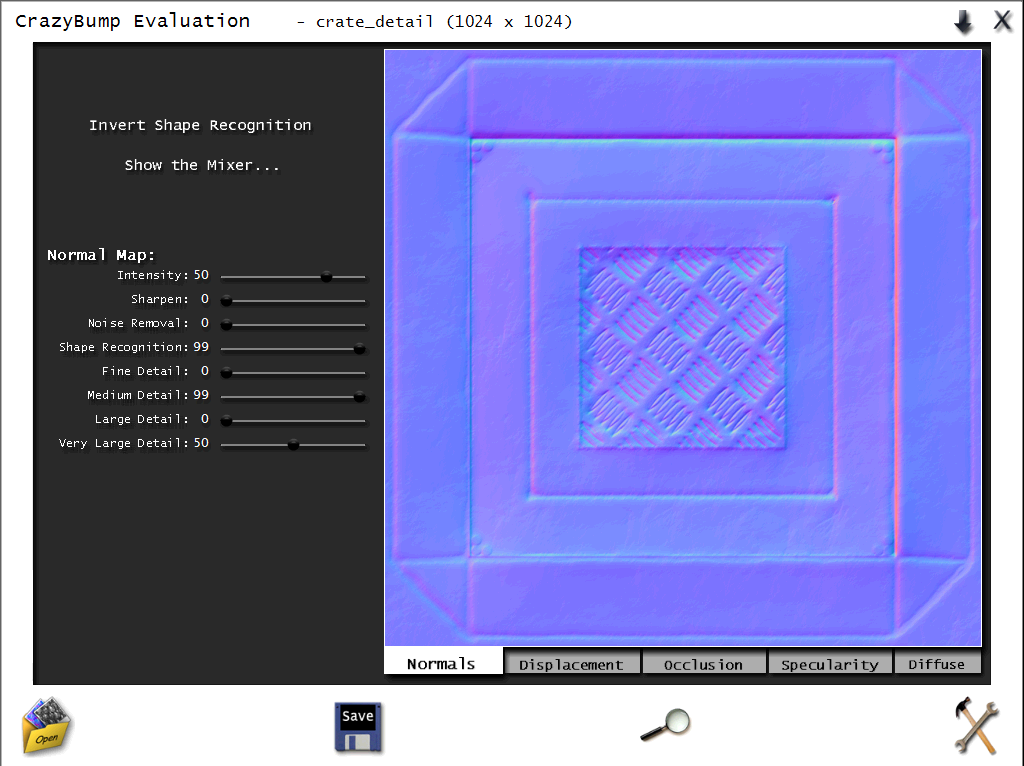
- I then made similar adjustments to a copy of my greyscale diffuse map for my normal map, making sure that the details I wanted raised were brighter and the details I wanted recessed were darker.
With the preparation over I brought the images into CrazyBump and adjusted the sliders until I got the desired effect I wanted on my spec and normal maps.
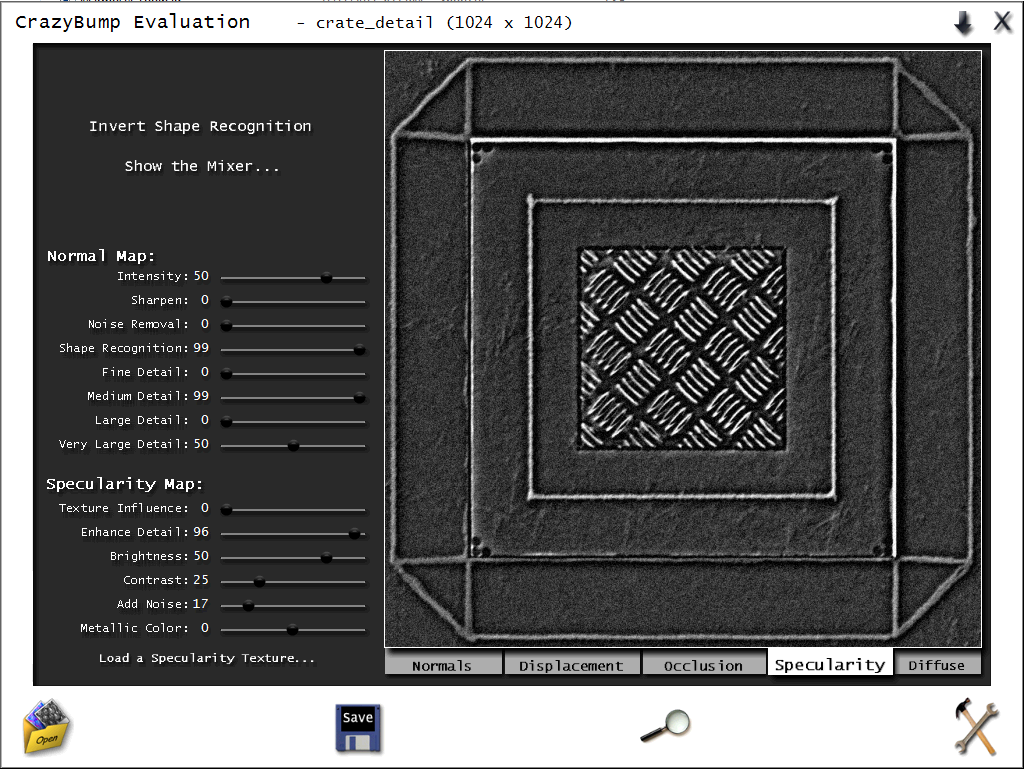
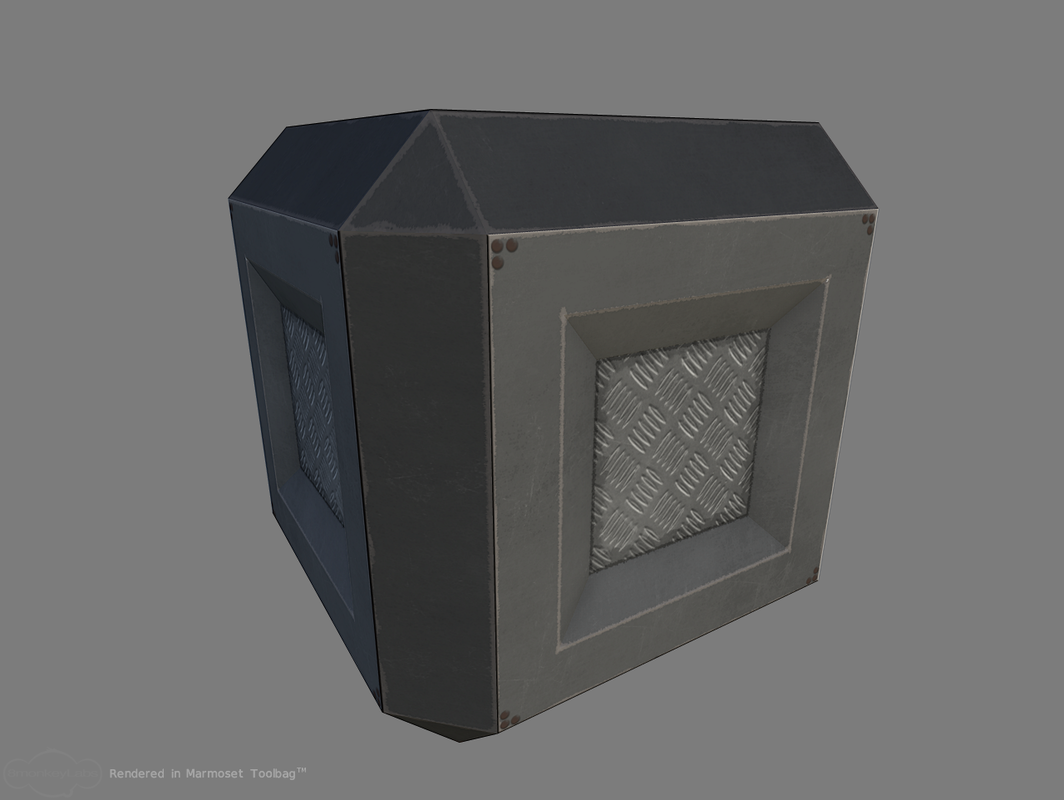
Once I had finised adjusting my spec and normal maps in CrazyBump I saved them out and applied them to my mesh in Marmoset Toolbag. First is the spec map.
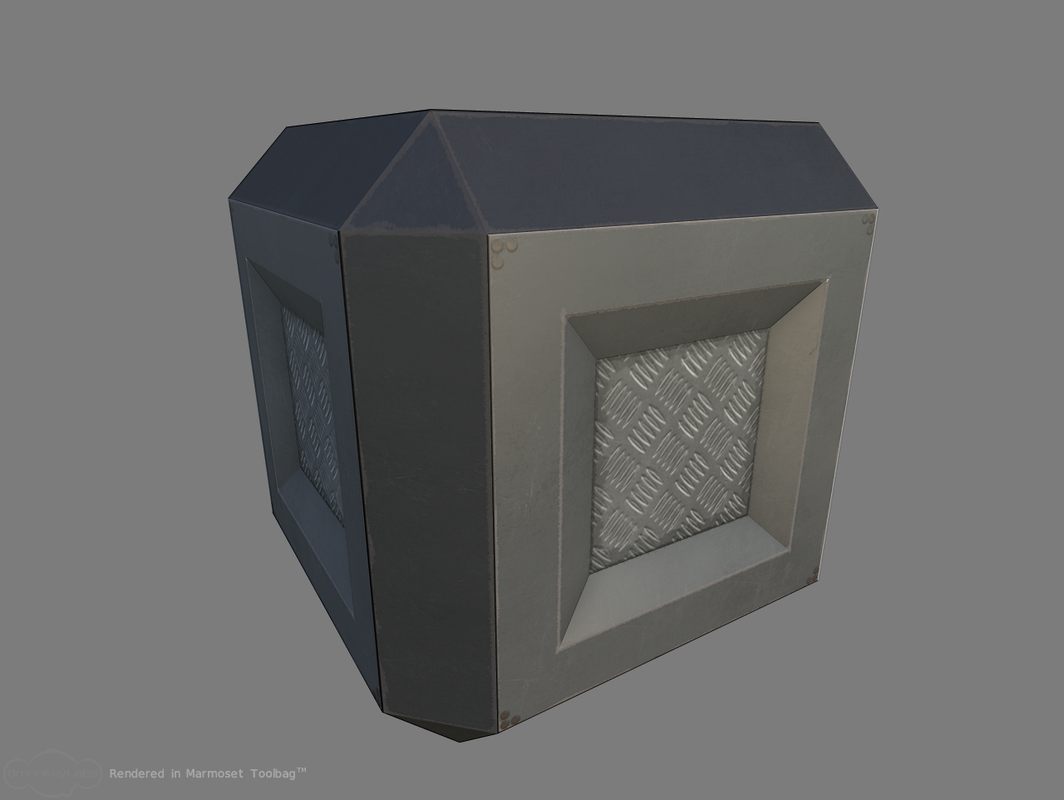
Now the normal map is added.

And that is how I made a game prop with metal textures that look like metal instead of stone, I hope this helps.
